


Carbon fiber molds were made from high density foam sponsored by Duna Group USA. I was responsible for creating the toolpaths and machining all the molds.
The CNC machine we used last year had a maximum build space of approximately 30” x 30” x 12” deep and was not large enough to make full molds. Most of the molds had to be milled from 4 - 6 smaller pieces and then combined, resulting in significantly longer build times and decreased tolerance. Because of this, I designed a large format 3 axis CNC router which I built over the summer.
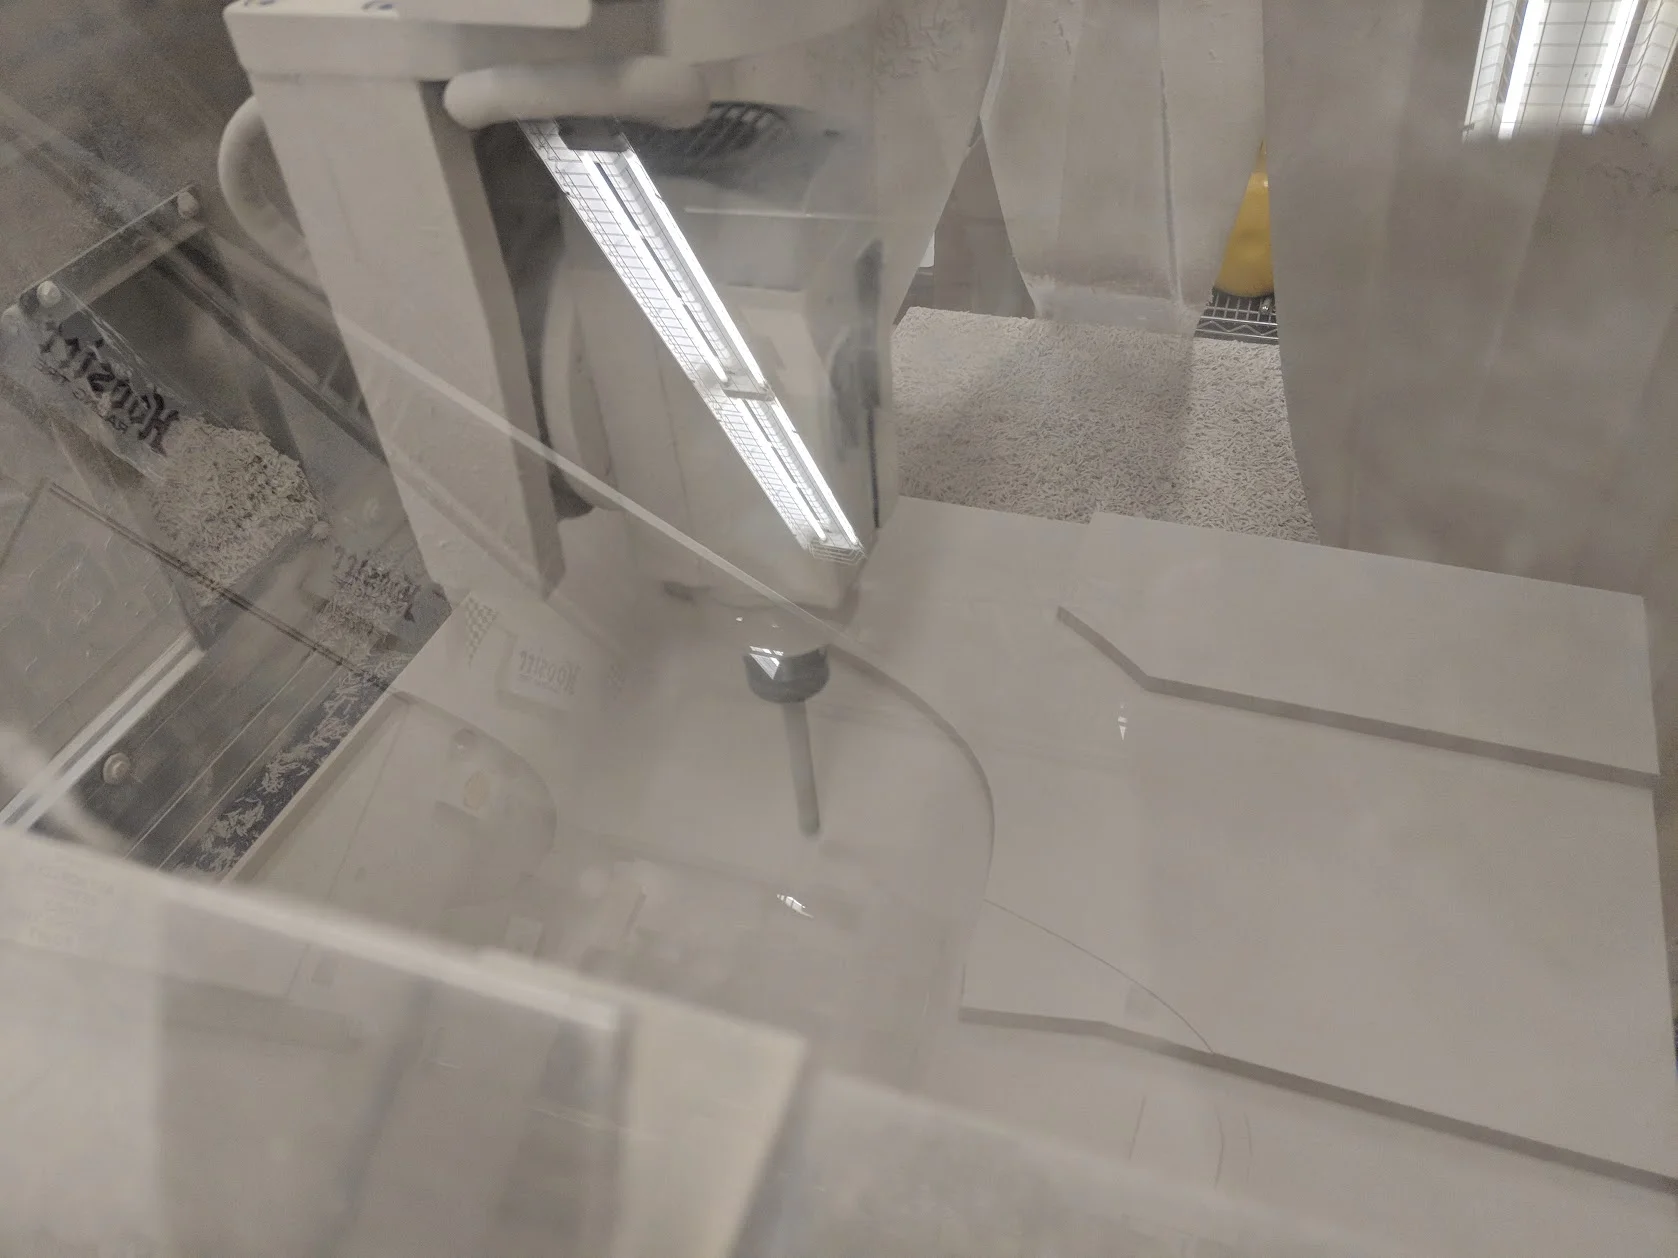
Because foam is relatively easy to sand, rough finishing passes were used to save time. Several defects, such as the one seen here, are due to insufficient length of the end mill and constraints of the CNC machine. These imperfections were sanded down manually.
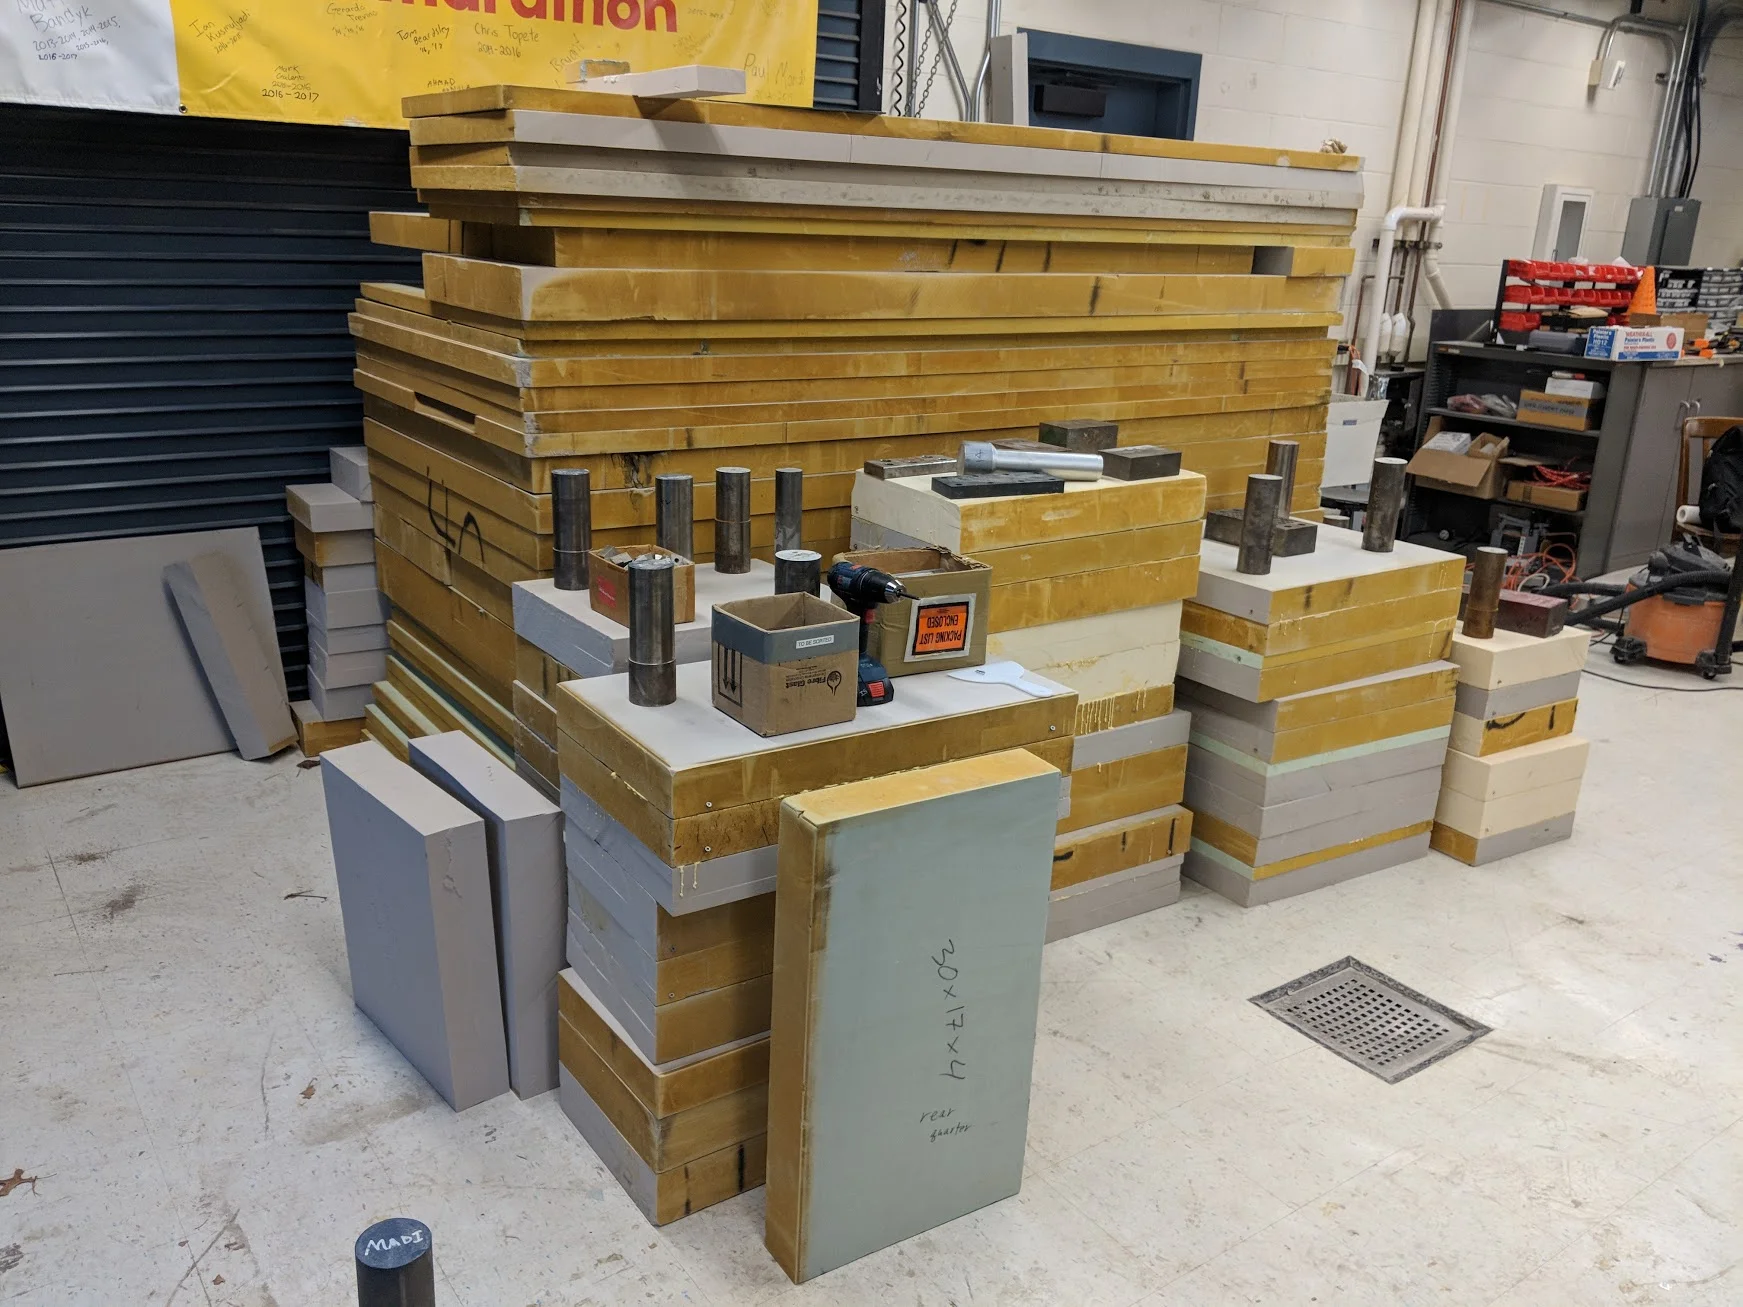
Foam stock glue curing prior to machining.
Door mold quarter being machined.
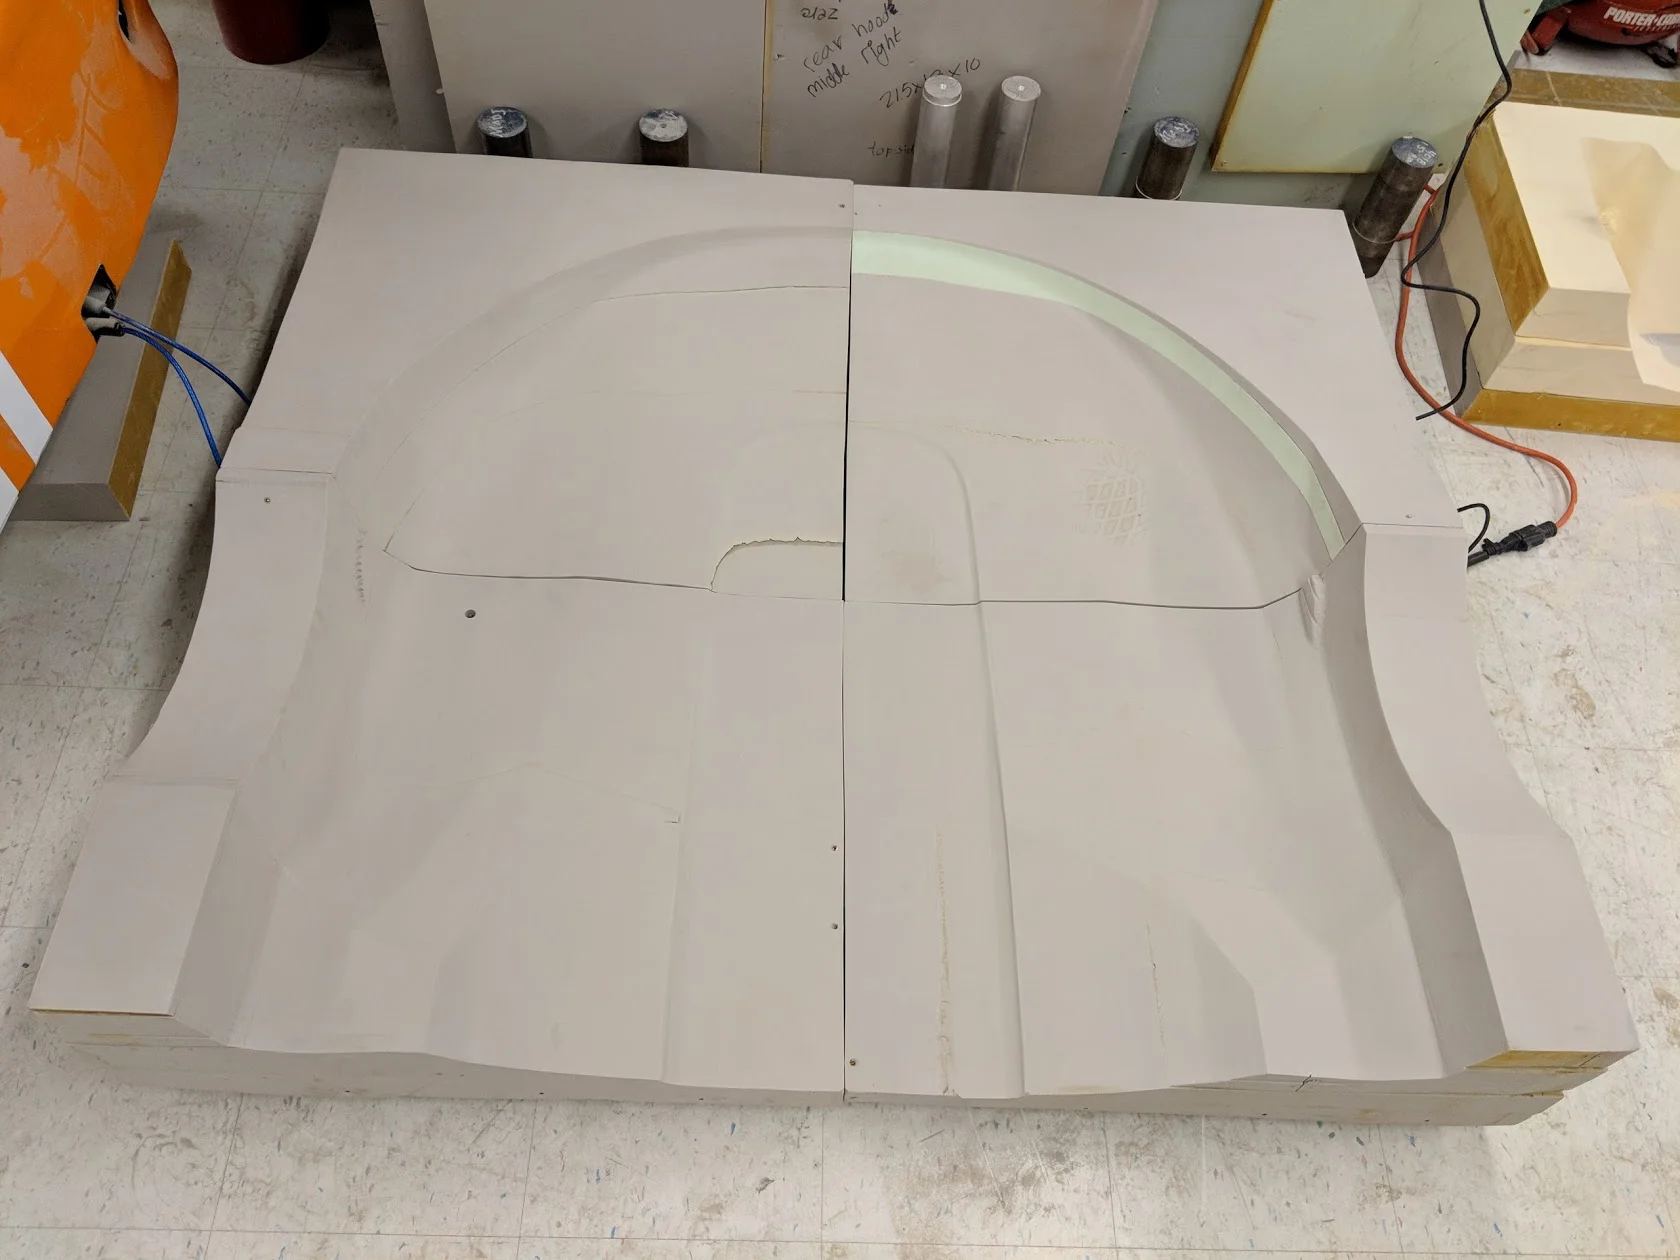
Front hood quarter partially sanded.
Due to imperfections and some warping of the foam material and limitations of the CNC machine, reference dimensions from the cad mold files were used to help assemble the multiple smaller molds into one large mold while minimizing dimensional inaccuracy.
This is the front hood mold after the various sections were matched up and screwed together. Some gaps between mold sections were added to match the dimensions of the assembled finished mold pieces with the dimensions of the cad file.
Gaps were filled with body filler then sanded down even with the rest of the mold surface.
Duratec grey primer was then sprayed heavily on the surface to create a hard surface to resist absorbing epoxy during the carbon fiber vacuum infusion process.
The primer was then sanded down until smooth.
Finally the smooth primer was waxed with mold release wax.